
How to Use OneDrive’s Request Files Feature (and SharePoint Too): The Easiest Way to Collect Documents Securely Online
Apr 22, 2025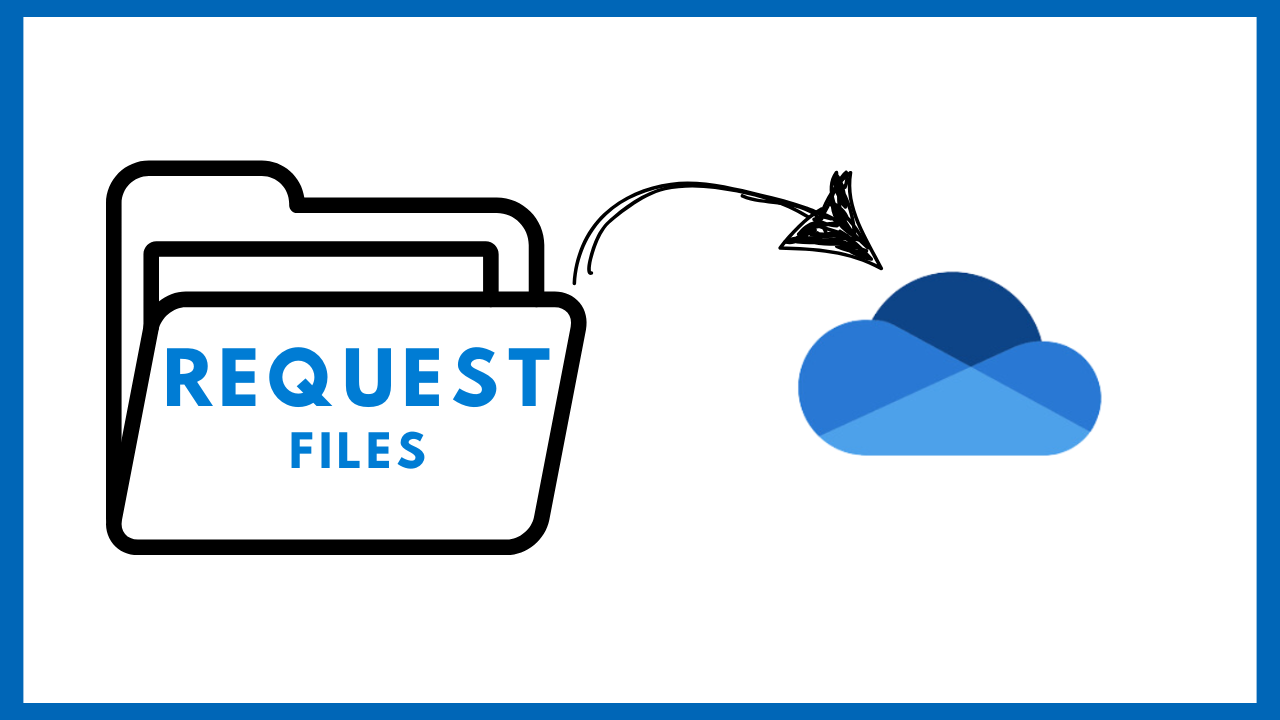
Collect Files Effortlessly with OneDrive’s Request Files Feature
Have you ever needed to gather
- documents,
- assignments, or
- forms
from a group of people, especially those outside your organization?
And found yourself lost in a sea of email attachments?
Maybe you’ve tried sharing a folder, only to worry about privacy or accidental edits. If this sounds familiar, you’ll love the Request Files feature in Microsoft OneDrive.
What Is the Request Files Feature?
Request Files is a powerful tool built into OneDrive that makes it incredibly easy to collect files from anyone, whether they have a Microsoft account or not. Instead of asking people to email you attachments or navigate complicated sharing permissions, you simply create a secure upload link.
People use this link to send you files directly into a folder you choose.
The best part?
They can’t see, edit, or delete anything in that folder, only upload their own documents.
Why Use Request Files?
This feature is a game-changer for anyone who needs to gather files from multiple sources.
Imagine you’re a teacher collecting assignments, an HR manager gathering signed forms, or a project lead receiving deliverables from external partners.
With Request Files, you avoid the confusion and clutter of email attachments and ensure everything lands in one organized location.
How to Use Request Files in OneDrive: Step-by-Step
Ready to try it out?
Here’s exactly how you can use Request Files to streamline your file collection process:
1. Open OneDrive and Choose Your Folder- Log in to your OneDrive account through your browser.
- Navigate to the folder where you want to collect files. If you don’t have a dedicated folder yet, create one and give it a clear, descriptive name.
- Check mark that folder, so it is selected.
2. Start a File Request
- Once you’re in the correct folder, look for the “Request files” button in the toolbar at the top of the page.
- Click it to open the request dialog.

3. Describe What You’re Requesting
- A window will pop up asking you to describe what files you’re requesting. Be specific! For example, “Upload your signed contract” or “Submit your project report.” This description will appear when people open the upload link.
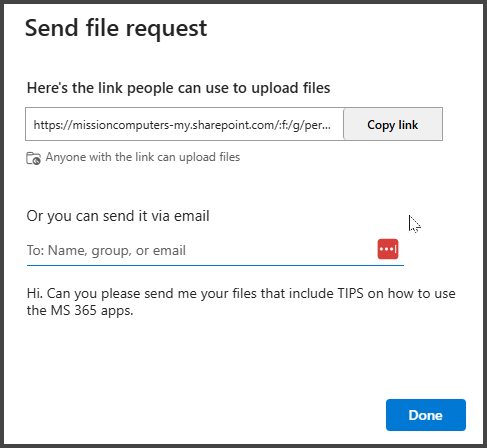
- Click “Next.” OneDrive will generate a unique upload link for your request. You can either copy this link and share it via email, chat, or any messaging app, or you can enter email addresses directly in OneDrive to send the link with a personalized message.
- When someone clicks your link, they’ll see a simple upload page. They don’t need a Microsoft account to use it. They’ll be prompted to enter their name (so you know who sent each file) and then select the files they want to upload. They can add multiple files at once, and once they hit upload, their documents are sent straight to your chosen folder.

6. Receive and Manage Files
As files come in, they’re neatly organized in your folder. Each file is automatically tagged with the uploader’s name, making it easy to track who sent what.
If two people upload files with the same name, OneDrive will add a number to distinguish them, so nothing gets overwritten.
You’ll also receive a notification email each time someone uploads files, so you’re always in the loop.
SharePoint also offers the Request Files feature, allowing you to collect files from others using a secure upload link, just like in OneDrive.
Real-World Examples
-
Teachers can collect homework or permission slips from students or parents without worrying about lost emails or privacy issues.
-
HR professionals can gather onboarding documents from new hires, even before they have company accounts.
-
Event organizers can receive signed waivers, photos, or proposals from participants.
-
Project managers can collect deliverables from freelancers or external collaborators, all in one place.
Tips for Using Request Files Effectively
-
Create a dedicated folder for each collection project to keep things organized and avoid mixing up files from different sources.
-
Be specific in your request description so people know exactly what to upload. Clear instructions lead to better results.
-
Share the link only with trusted contacts since anyone with the link can upload files. While uploaders can’t see or edit other files, it’s best to keep the link private.
-
Regularly check your folder and move files as needed to maintain organization, especially if you’re collecting files from many people.
Security and Privacy
OneDrive’s Request Files feature is designed with privacy in mind.
Uploaders can only add files.
They can’t see, edit, or delete anything else in the folder.
This makes it far safer than traditional shared folders or public links.
In Summary
The Request Files feature in OneDrive is a simple, secure, and highly effective way to collect documents from anyone, anywhere.
It streamlines the process, keeps your files organized, and protects everyone’s privacy.
Whether you’re managing a classroom, a business, or a project, this tool can save you time, reduce stress, and help you stay on top of your file collection needs.
Ready to try it out?Want more tips for mastering Microsoft 365?
Check out our course library and start your journey to becoming a true tech pro today!